User Guide
Step-by-step tutorials to help you get the most out of SynqEvent
Creating an Event
Sign in to your account
Go to synqevent.com and click "Sign In" or "Start Free".
Click "Create Event"
From your dashboard, click the "Create Event" button. You'll be taken to the event creation page.
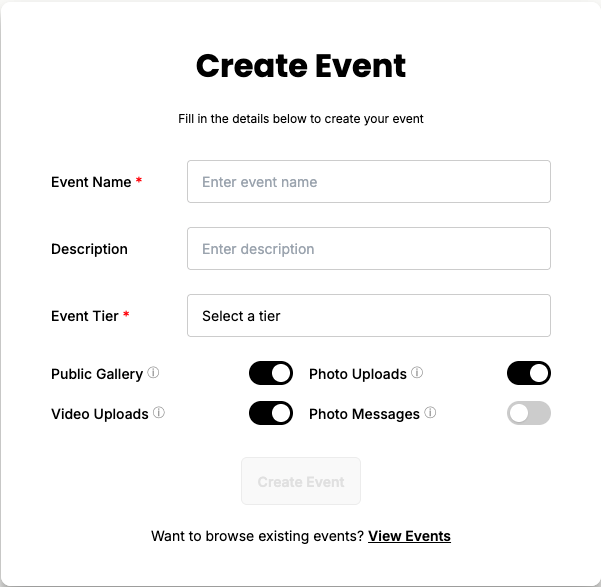
Click Create Event
Enter your event details
Give your event a name (e.g., "Sarah's Wedding" or "Company Christmas Party"). This name will be shown to guests when they upload photos.
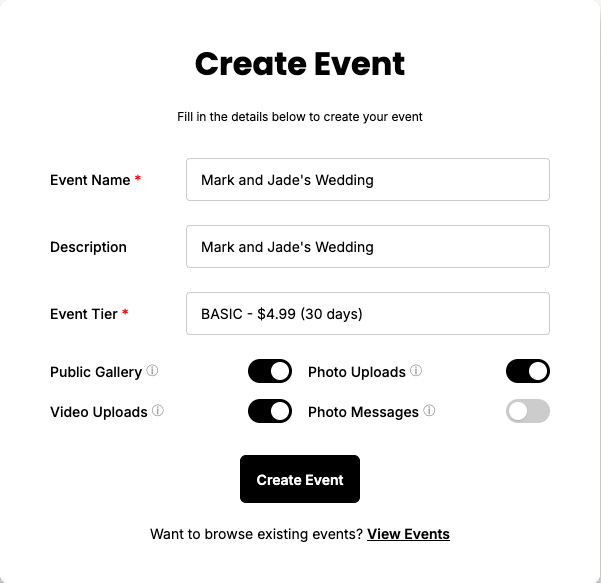
Fill in event details
Choose your tier
Select the tier that fits your event. Free tier gives you 12 hours and 1GB storage. Basic ($4.99) gives you 30 days and 20GB. Pro ($14.99) gives you 90 days and 200GB.
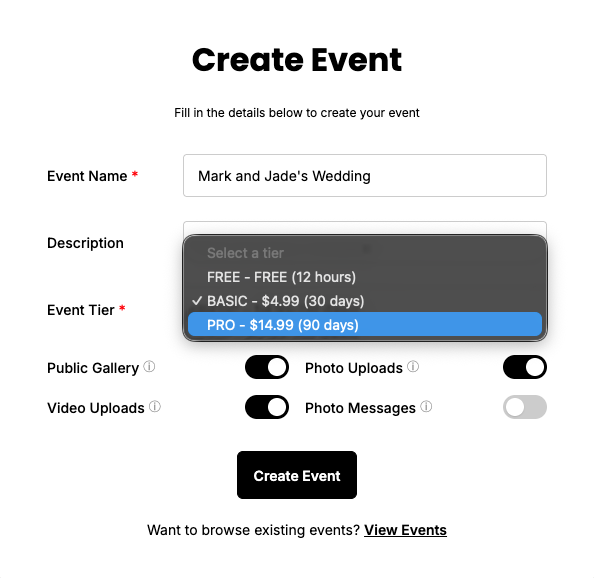
Select your tier
💡
Tip: For weddings and large events, we recommend Basic or Pro for more storage and longer duration.
Complete payment (for paid tiers)
If you selected a paid tier, you'll be redirected to PayPal to complete your payment. Choose to pay with PayPal balance or credit/debit card.
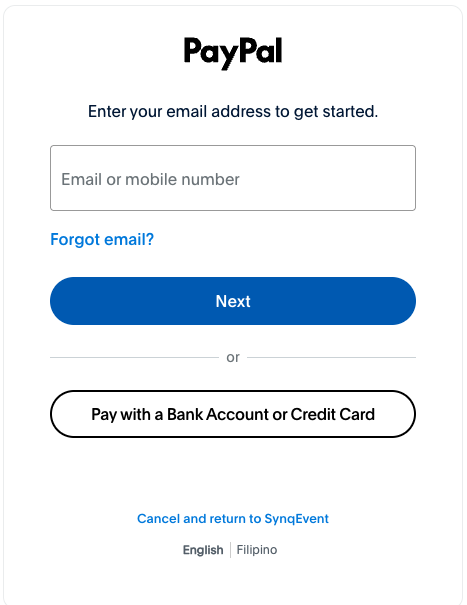
Choose payment method
Confirm your payment to create your event.
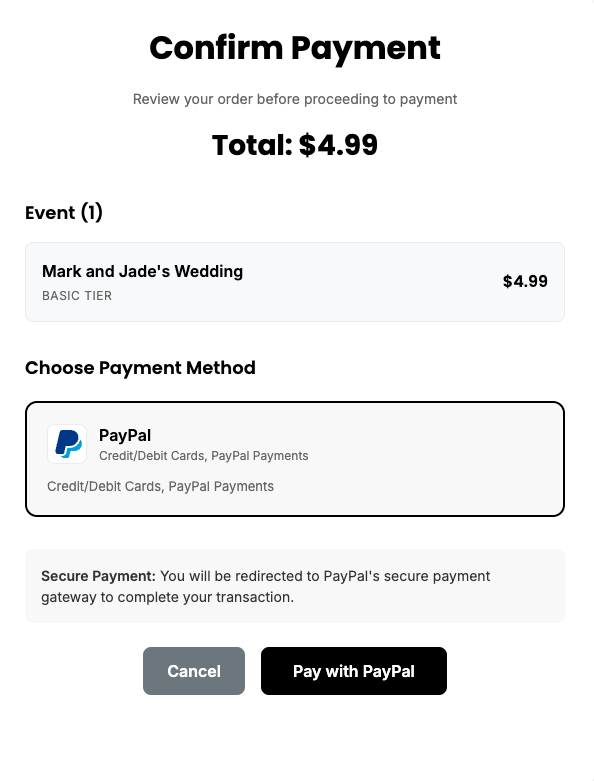
Confirm payment
Complete the purchase with PayPal.
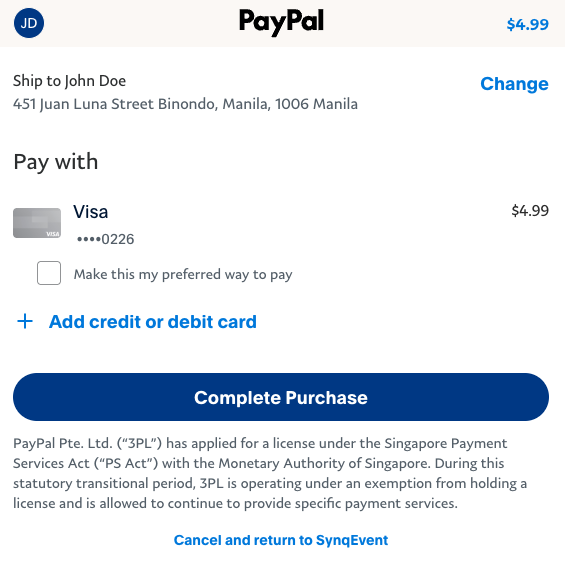
Complete purchase
Your event is ready!
After creation, your event starts immediately and guests can begin uploading photos right away.
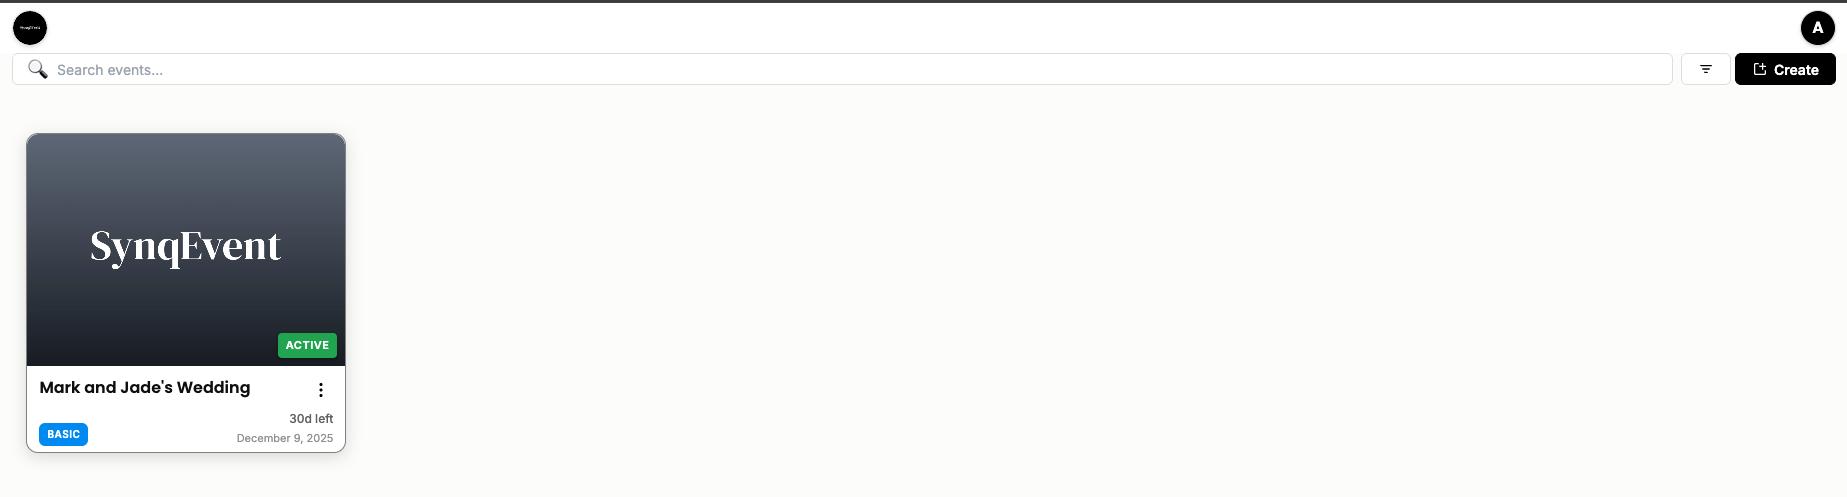
Event created
Still need help?
Check our FAQ or contact our support team